Table of Contents
- 1. Compress Images (The Smart Way)
- 2. Use Vector Graphics Instead of Raster
- 3. Avoid Embedding Too Many Custom Fonts
- 4. Remove Unused Master Slides
- 5. Optimize Videos and Audio
- 6. Save in the Right Format
- 7. Minimize Animation Overload
- 8. Avoid Dropping Raw Camera Photos
- 9. Use Placeholders When Collaborating
- 10. Share as PDF for Viewing-Only Decks
- Final Thoughts
Ever tried sending your PowerPoint file only to realize it’s too big to email? Or worse, it takes forever to open, even on a decent laptop? You’re not alone. PowerPoint presentations can easily become bloated with high-res images, videos, and fancy fonts. But don’t worry — you can reduce the file size without messing up the design or quality.
In this article, we’ll walk you through 10 proven tips to help you shrink your presentation files while keeping them looking sharp and professional. Let’s get started!
1. Compress Images (The Smart Way)
Images are usually the biggest culprit. Use PowerPoint’s built-in Compress Pictures tool under the Picture Format tab. Choose a lower resolution like 150 ppi — it’s perfect for screen display and can drastically reduce file size.
Pro tip: Resize your images before inserting them. Tools like Photoshop or online compressors can help prep your assets before they even touch PowerPoint.
2. Use Vector Graphics Instead of Raster
SVG and EMF formats are scalable, lightweight, and don’t lose quality when resized. They’re perfect for icons, charts, or illustrations. PowerPoint supports SVG, so just drag and drop — no sweat.
3. Avoid Embedding Too Many Custom Fonts
Using lots of custom fonts? PowerPoint will embed them into the file, making it heavier. Stick to system fonts or embed only the characters used (you can find this option under File > Options > Save).
For display text like titles or quotes, convert them to images if necessary — just remember they won’t be editable later.
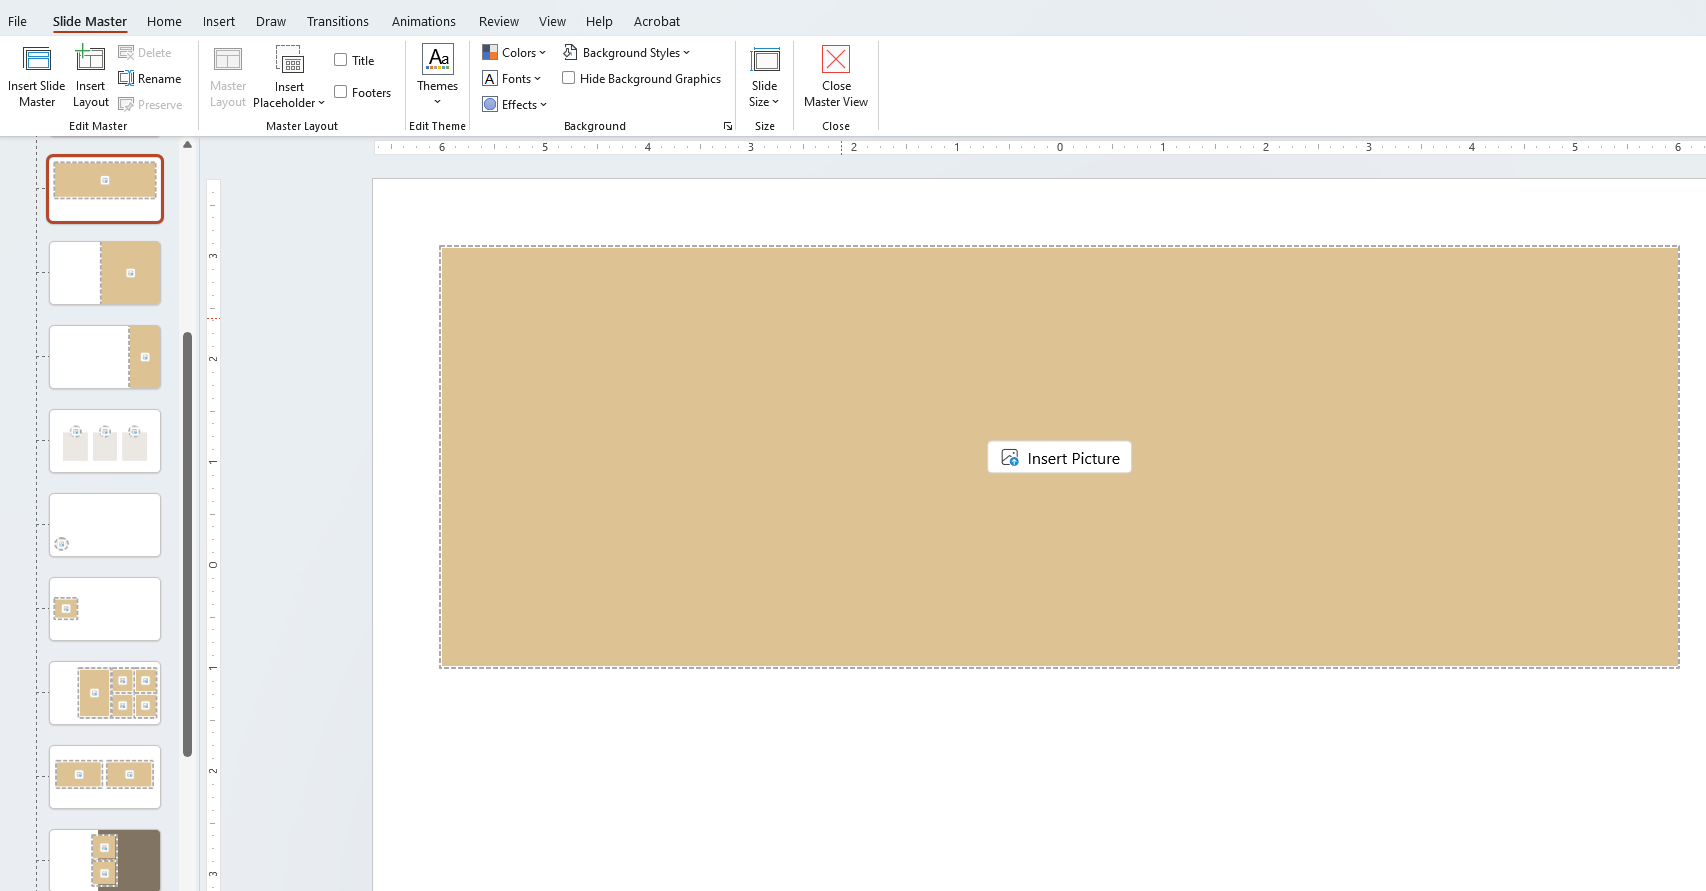
4. Remove Unused Master Slides
If you copy slides from multiple sources, chances are your deck has extra master layouts that you’re not even using. Head to View > Slide Master, review, and delete the unnecessary ones. Clean file, clean mind.
5. Optimize Videos and Audio
Media files can be file-size monsters. Use the Compress Media tool under the Playback tab. You can also compress or trim videos in apps like Handbrake before adding them to your deck.
Pro tip: Consider linking to videos hosted on YouTube or Google Drive instead of embedding them directly.
6. Save in the Right Format
Always save your work in .PPTX format — it uses ZIP compression and is more efficient than the older .PPT. To convert, just open the file and do a Save As.
If you’re sharing a static version, consider exporting to PDF — it’s lighter and easier to view across devices.
7. Minimize Animation Overload
Fancy animations look cool but can slow things down and bloat your file. Use simple transitions and keep animations purposeful. Remember: clean is classy.
8. Avoid Dropping Raw Camera Photos
Never insert raw 12MP photos directly from your phone. Resize and compress them first. Nobody’s viewing your presentation on a 4K cinema screen, so keep it screen-optimized.
9. Use Placeholders When Collaborating
Working with a team? Use placeholders for images or videos rather than inserting the actual files. This keeps the master file small and easy to manage during revisions.
10. Share as PDF for Viewing-Only Decks
Need to send your presentation for review or sharing — but no edits? Export as PDF. It’s compact, consistent, and perfect for quick previews or printing.
Final Thoughts
Reducing PowerPoint file size isn’t rocket science — it’s about making smart, intentional choices. Start small: compress images, clean up masters, and avoid unnecessary media. Do it right, and you’ll have lightweight decks that load fast and still look sharp.
Need beautifully designed, lightweight PowerPoint templates that won’t bloat your file size? Check out our collection at Appiqa.com — crafted for speed, impact, and simplicity.